Described as “Unbranded RCQC1 4-Channel, 6 Axis Gyro White Quadcopter With 2MP HD Camera”, this diminutive gadget actually comes with the name Velleman stuck all over it.
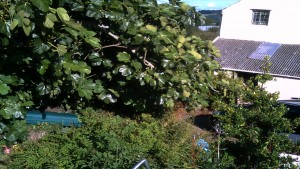
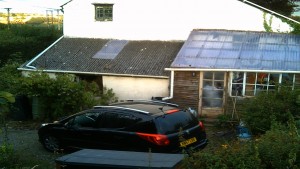
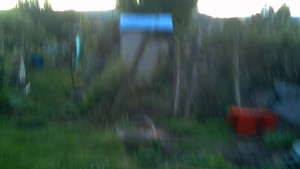
I’m testing it out with a view to using it to jazz up some clients’ websites with aerial photographs. I’d hoped to find some pictures online of the kind of results the “2MP HD Camera” could achieve but found none. Here then, are some test photos from the RCQC1
Hand Held
Hand Held
Taken in flight
I am assuming that with practice I can hold the copter steady enough in flight to take a non-blurry picture.
I’ve also published a couple of videos here
This video flying quadcopter is described on it’s box as X5C-1 and is rebranded by various manufacturers.
I’m in the process of joining the Code Club project -which aims to help primary school children learn the basics of computer programming.
I went along to a short talk by Code Club at UCL earlier in the week and had the chance to ask some of the questions I’d not really found answers to before.
A guy called Matthew who’s day job was leading a small team at Google has been running a Code Club at his children’s school and he came along and ran through how his club works.
Normally there is a single teacher alongside the volunteer. Matthew said the teacher is not necessarily “into” computers, but they do help with the discpline, the organisation, and help teach the volunteer how to teach, if that makes sense!
Currently the open source Code Club projects (download here) are 4 terms in length, but the aim is to have 6 terms of material, so a child can start in year 5 and continue through to the end of year 6.
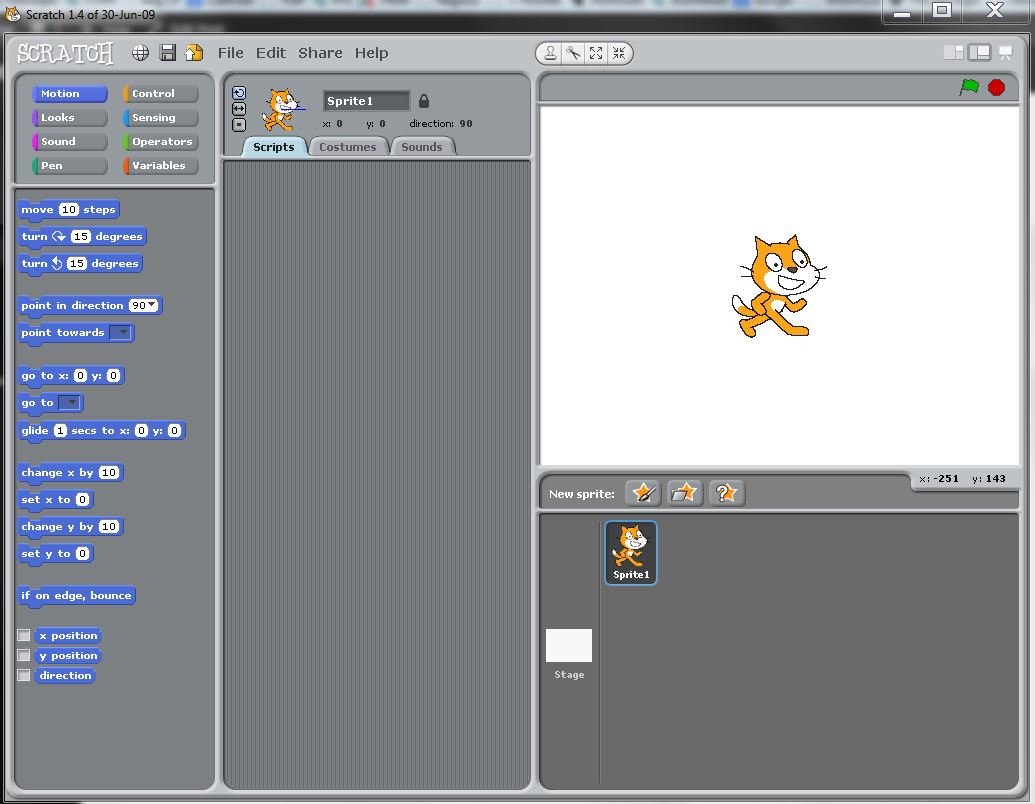
When I looked at the first project, it dove straight in to creating a simple game in Scratch. One of the things I found out at this session was that spending one or maybe two sessions just getting used to Scratch’s busy interface is perfectly ok, and recommended.
Scratch 1.4
Matthew explained his normal process is talk to the class as a whole first, explaining a couple of key concepts. Then he gives out the worksheets (provided by Code Club as downloads) and the children start. He goes around the class then, helping as needed. Every 10 minutes or so he gets the whole classes attention and checks on progress (“has everyone reached stage 6?”). At the end of the class, the children are given challenges with which to continue and help them make the transition from following instructions to working out how to do things on their own.
I asked whether the downloadable older version of Scratch (1.4) or the new online only version was recommended – it seems either is fine, and it may depend on the school’s network more than anything. The benefit of the newer Scratch is the children can, if they want, and are able, continue at home with their projects.
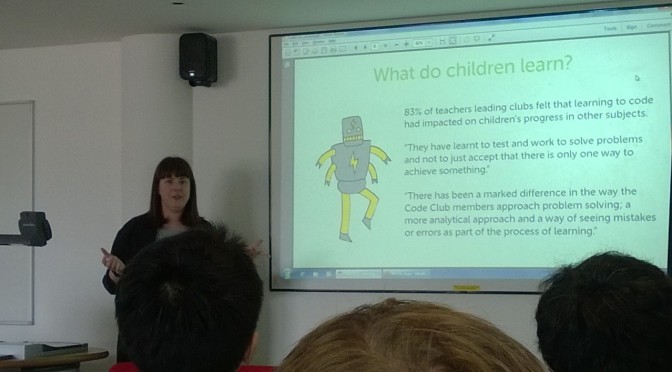
The leader of Code Club in the UK, Laura Kirsop (main picture), also spoke about some of the plans Code Club have for the future.
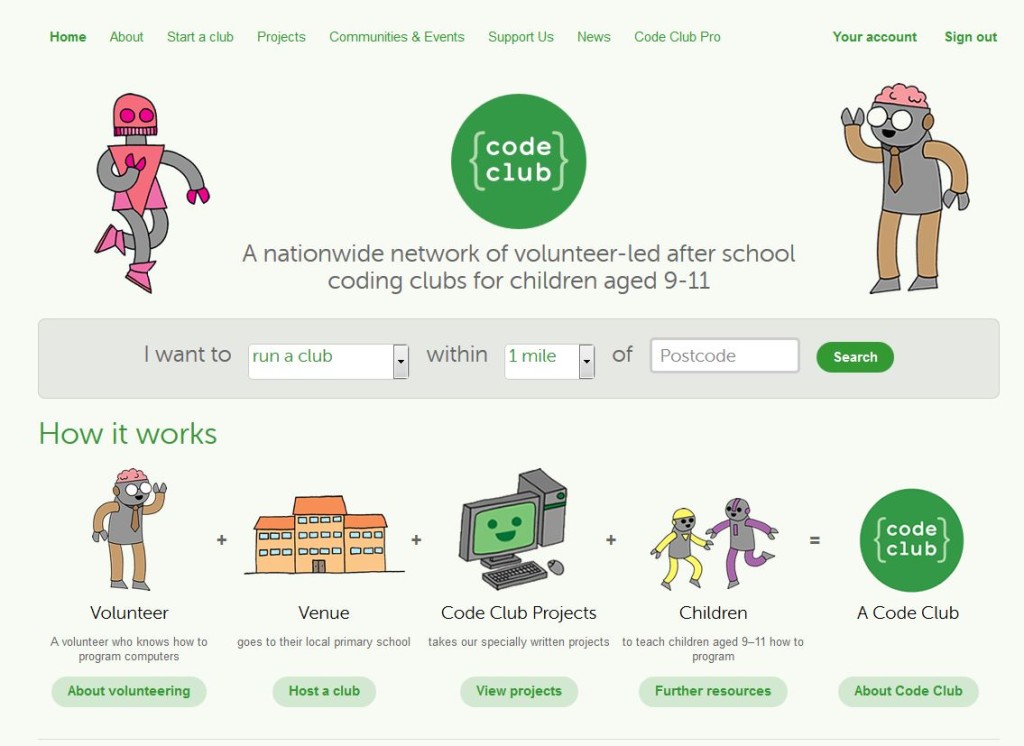
The Code Club website (click to visit)
Code Club are rewriting the existing projects, with the new computing curriculum in mind. From September 2014, there is a computing element to primary school education, for the first time. As I mentioned earlier, two additional terms of materials are being added. They will be seeking out flagship Code Clubs around the UK that can offer potential volunteers and educators a chance to observe before taking the plunge themselves.
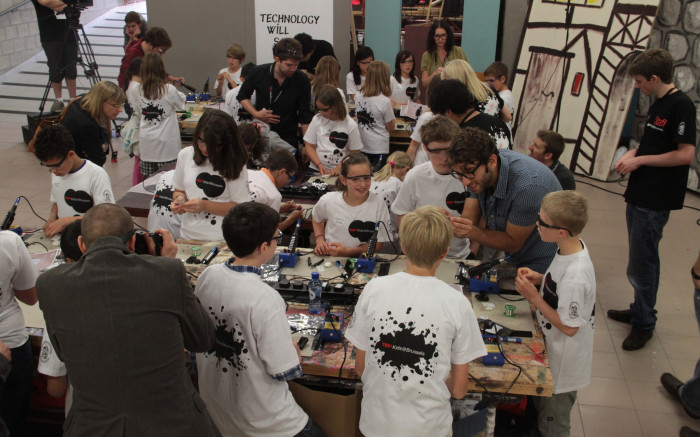
Technology Will Save Us design gadgets that you can make yourself.
Finally, thanks to generous sponsorship, Code Club are being given a large number of hardware devices from Technology Will Save Us to add a practical element to learnign about computing. Sounds like a lot of fun!
Code Club is a fast growing educational project. There are around 2,200 clubs registered in the UK, and their stated aim is to reach 5,000 clubs in 2015.
I’m looking forward to starting a club in my area from September.
Notes
Matthew mentioned Blockly – looks similar to Scratch but allows a code view (in fact exportable javascript). The teacher I met at a local school told me the children there used Kodu. Code Club said going “off piste” is fine if the volunteer and school are happy to do so. Ed at my kids’ school recommended the MIT Scratch video series as a good way to get used to the interface. These vidoes include both introductory tutorials and general tips.
If you need a tool that can change your computer’s fan speeds, read the temperatures of your motherboard and your hard disk, read voltages and fan speeds and check the status of your hard disk using S.M.A.R.T. or SCSI attributes, then try Speedfan.
It’s not just for fans. In fact on my Acer laptop it didn’t actually detect the fan at all. But did give loads of other information
The Raspberry Pi version, at the time of writing, is no longer supported but the creator will send it to you in return for a donation to the main software
What is Instant WebKiosk?
From http://alternativeto.net/software/instant-webkiosk/about/: Instant WebKiosk is a free and refined “live” (no installation required) browser-only (only the browser interface will show up) operating system based on Linux Debian and designed for use in web kiosks, multi-user “web workstations” (cafès, offices, schools, hotels) and digital signage deployments.
Instant WebKiosk/EDS
It makes use of Google Chromium as Internet browser and it features audio support, video files support, Adobe Flash support, PDF and images viewing, office files and compressed files support; it features full “i18n” (internationalization) including CJ input methods and a very useful on-screen virtual keyboard for touch devices.
Instant WebKiosk protects your privacy even if it’s fully customizable: users can change its settings (or install “apps” from the Chrome Web Store) but, thanks to its “live” nature and design, after a reset the operating system presents itself with the default settings and users’ private informations are completely destroyed.
Instant WebKiosk boots form USB flash devices (in order to write the downloaded IWK ISO file to a USB stick, Windows users can use Win32DiskImager, while Linux users can make use of dd) and supports the same hardware that default Debian Linux distributions do – no less… no more.
Supported file types in detail: Instant WebKiosk can read txt, html, xml, gif, jpeg, png, psd, mpeg, mp3, mp4, avi, wmv, wma, asf, mov, 3gp, ogg, ogm, mkv, rm, wav, dts, aac, flc, flv, midi, pdf, csv, doc, xls, ppt, rtf, odt, ods, odp, and zip files. All known unsupported file types are filtered.
Installation Instant WebKiosk
My Installation started on a Windows 7 PC.
Download the Raspberry Pi version of the software. It comeas as ZIP. Unzip the zip and you will get a .ISO file.
Normal practice for creating boot disks for Raspberry Pi is to use Win32DiskImager to burn an IMG file to a SD Card.
Start Win32DiskImager and select the .img file above.
Burn to SD Card
Prepare your Raspberry PI. Put in a mouse and keyboard, a wired network lead (you cannot use wifi to start with) a monitor and your SD Card. Then apply power.
During the boot, your PI will first update itself from the raspberry pi website, then about 5 minutes later will connect to Binary Emotions (the creator of Instant WebKiosk).
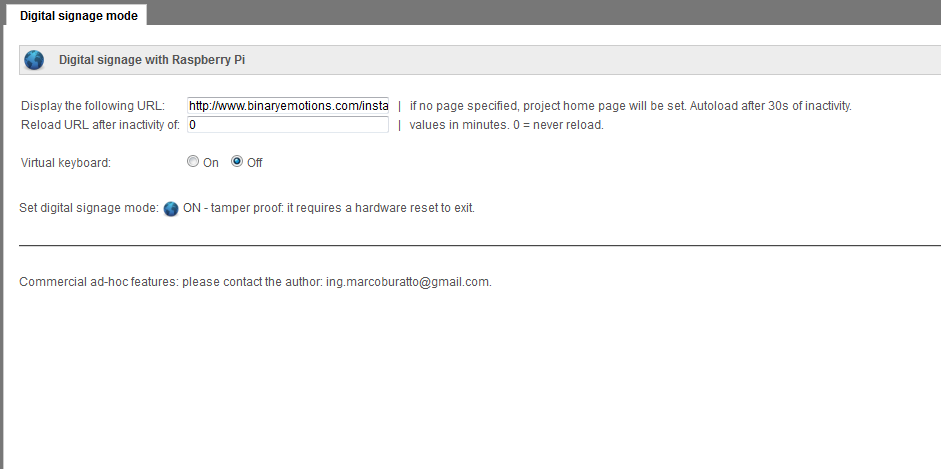
Next step is to change the default page.
Working out what IP address it has picked up by DHCP is a bit of trial and error.
Browse to the IP that you’ve found. A webpage will allow to you set the home url and whether or not to display a keyboard on screen.
Instant WebKiosk Configuration page
Click “Set digital signage mode ON” and the device will reboot.
You can also SSH to the PI to set it up. username: pi password: live
If you want to edit some of the “under the hood” settings, open /var/www/index.php.
You’ll need to install a text editor
apt-get install vim
After a week of using the software I find it excellent. It’s pretty much rock solid in operation (occasionally the startup fails but once it’s running it’s never failed).
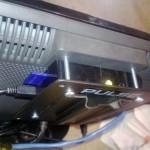
Raspberry Pi VESA Mount
Raspberry Pi mounted on monitor using VESA plate
On my setup, I am powering the Pi from a USB socket on the back of the Samsung TV I have, so it’s really neat from a wiring point of view. I’ve also found the standard VESA fittings on a TV can be used to mount the Raspberry Pi securely. Just use some long M4 screws and a VESA plate (like this one: VESA Adaptor Plate). There are a number of different Pi cases available which might affect the fitting, so for reference, this is the case used:
*UPDATE 13 June 2013*
As the comment mentions, the creator of WebKiosk/EDS for Raspberry Pi has released a new public version. Both free and ‘donor’ (paid) versions are available.
The new version (paid option) offers these features;
no screensaver or screen blanking active on system;
optional browser full reset after specified user inactivity;
optional force web content reloading after specified time;
automatic system shut down at scheduled hour;
screen resolution settings;
admin password (with password management), which protects the modify of the operating system settings at boot in the admin interface;
I’ve upgraded to the new version and so here is my updated guide.
Follow steps 1-4 above
Once the updating was done, I was presented with a Network Settings screen using the built in browser. This allows you to reset DHCP, set a static IP address or connect to Wi-fi.
On my install, it said failed to connect my wired network and my wifi. Eventually I tried clicking the back button on the browser and lo and behold it had in fact connected fine.
The next screen presents you with the options on what url to display and various relating settings such as refresh time, auto-shutdown. A Settings tab allows you to set your locality.
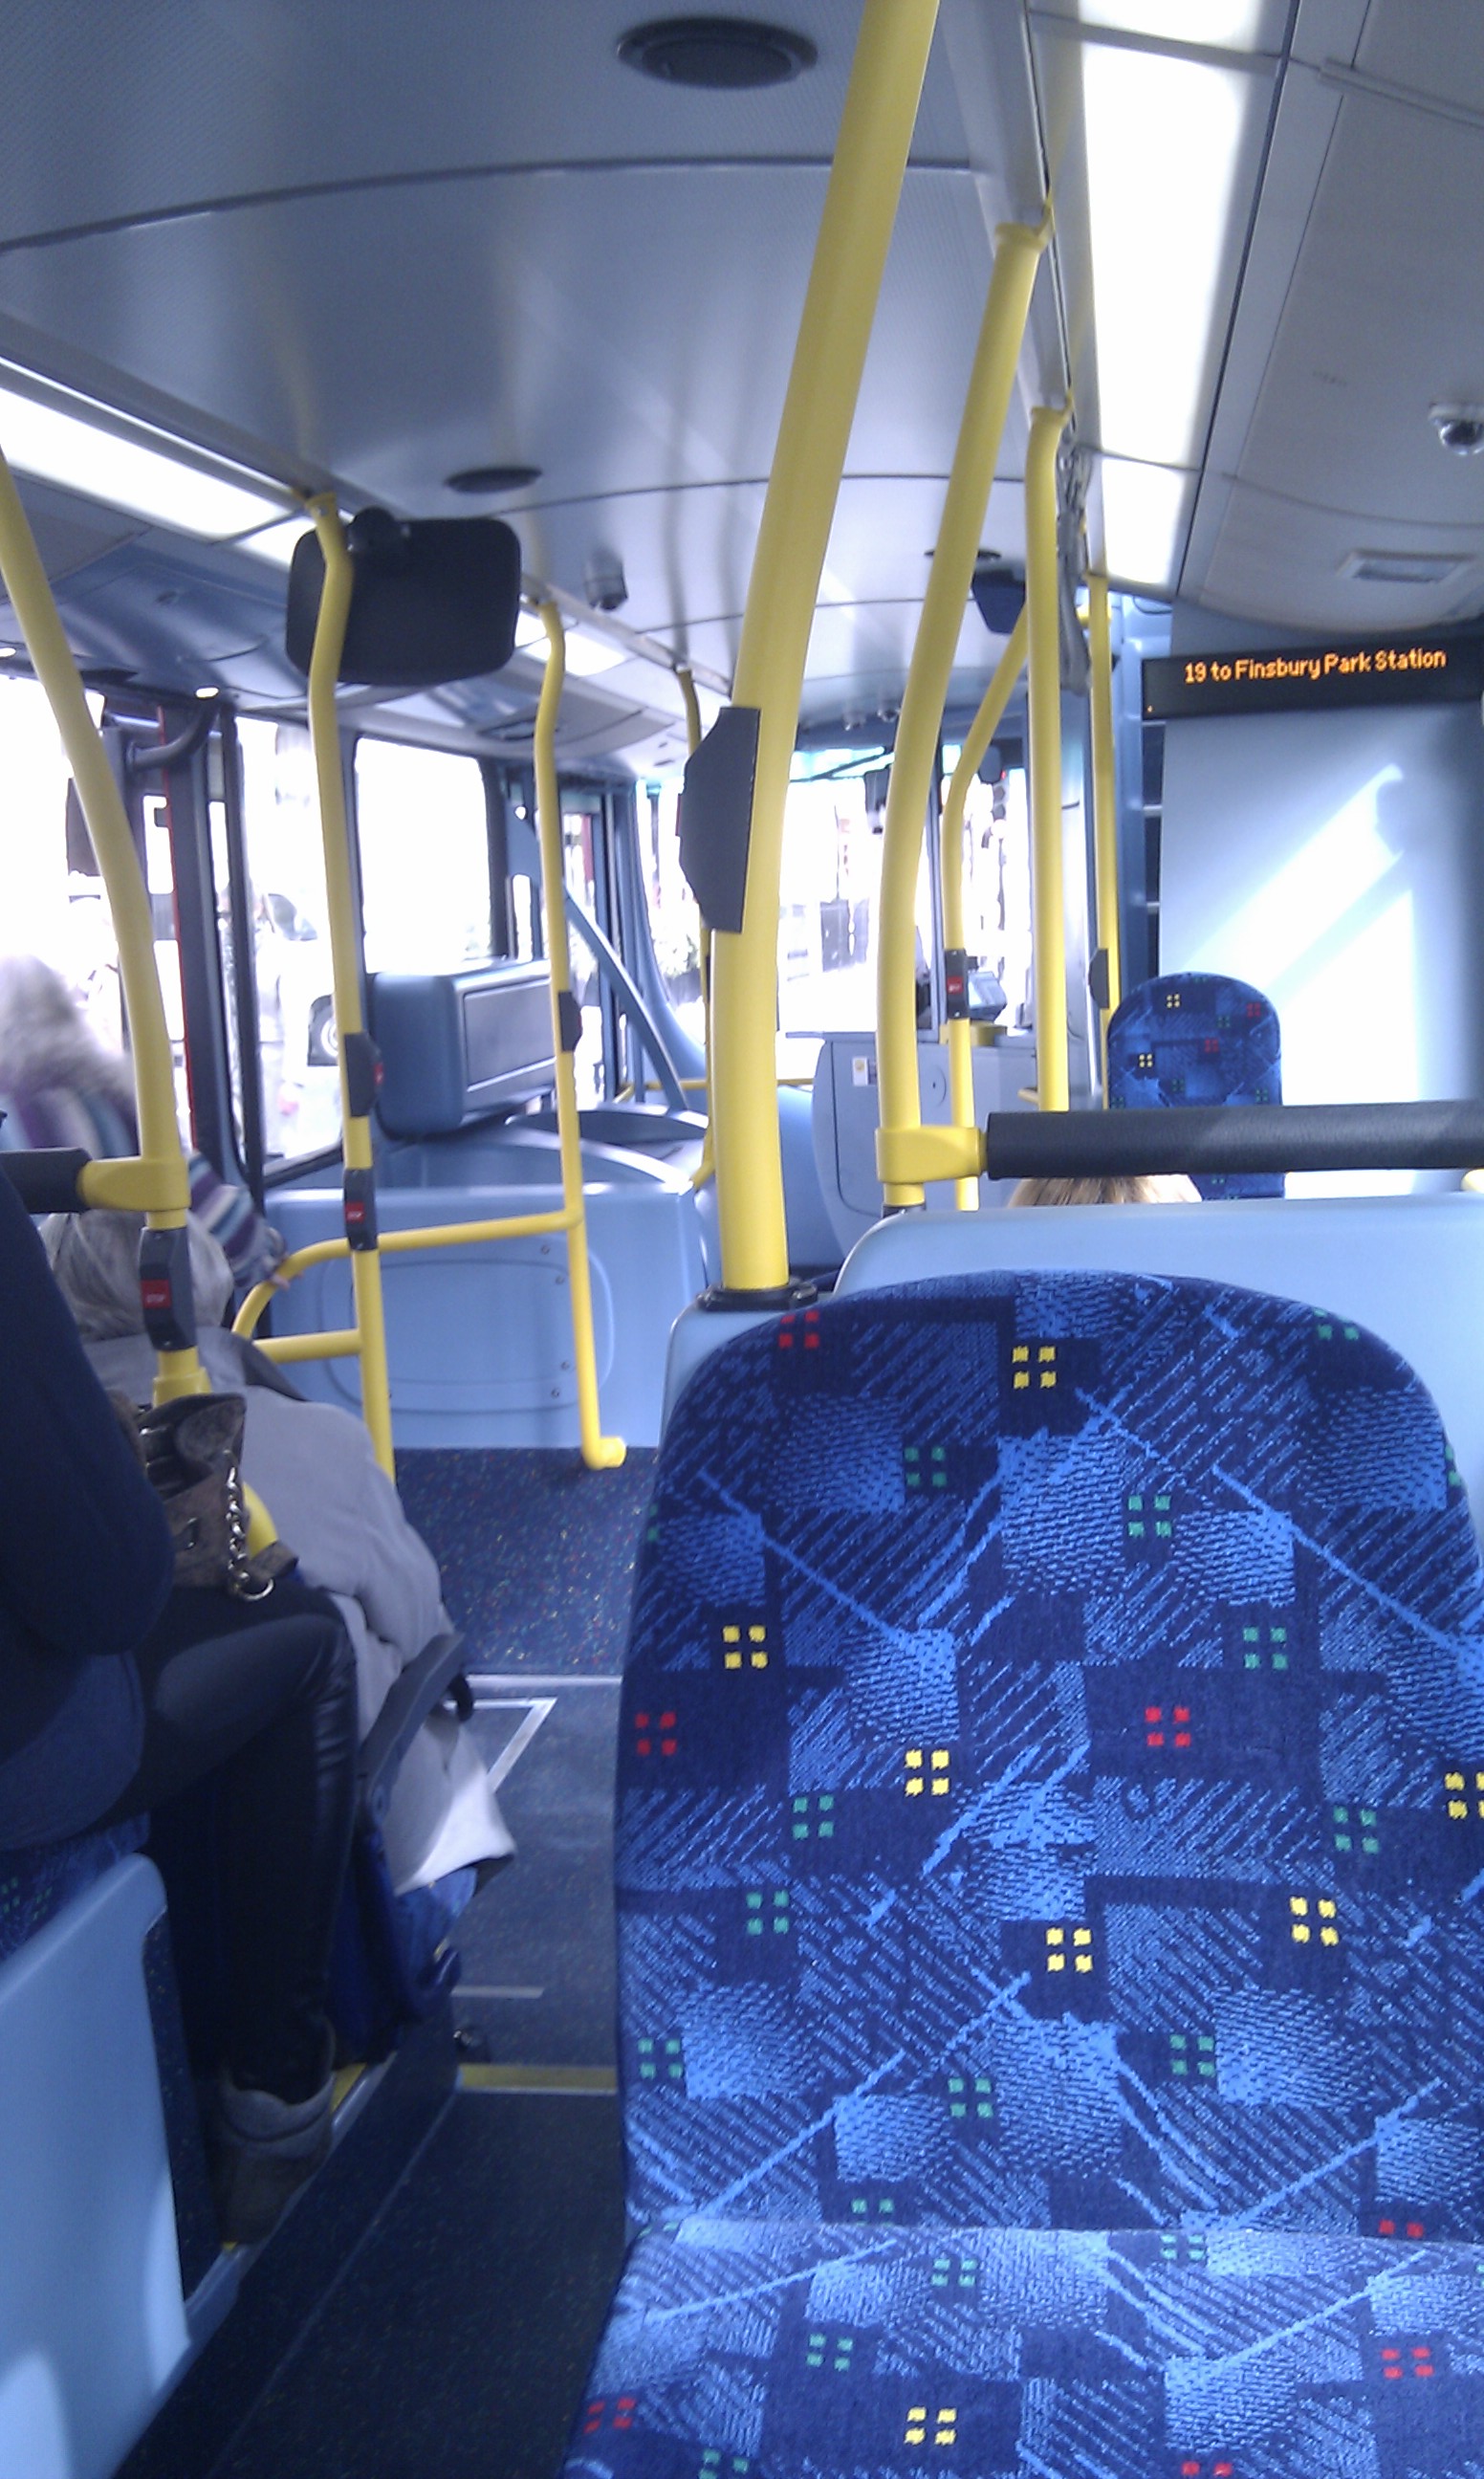
This newNo.19 has an electric diesel engine and is known as a Hybrid. The diesel engine cuts out at bus stops and traffic lights and it pulls away on its electric motor. The diesel kicks in seamlessly after a few seconds.
Should mean less pollution on our streets.
A Wright Gemini 2 hybrid double-decker (Front)
The rattle of the diesel dying at bus stops still feels as though the passengers are all about to ordered off the broken down bus.
.mod files will play if you just change the file extension from .mod to .mpeg however if you do that and you recorded on your camera in 16:9 it will try and read the file as if it was shot in 4:3 resulting in a squashed picture. A few years ago, a kind person wrote some software to fix this and gave it away free. Unfortunately his website is gone now, so a copy of the software can be downloaded from here. I use “SDcopy V1.99 by Sektionschef” for all my .mod file conversions from my Panasonic SDR-SW20 it doesn’t squish the picture and it seems to be a “lossless” file conversion.
Although I use Textpad editor for search & replace functions generally, it does not extend to changing filenames. At work I needed to replace part of a filename in a number of PHP files. I found a very useful utility for doing a find and replace on large numbers of filenames at once. It’s called FileMonkey and you can get a copy here.