Never have seen so many staff doing pointless jobs. There were staffed lifts, and you have to change lifts halfway up (due to the weight of the lift cable preventing really long lift runs). There were people standing outside the lift to guide you around the corner to the other lift. There were people to take your ticket and touch it to the reader. It just went on and on!
If you need a tool that can change your computer’s fan speeds, read the temperatures of your motherboard and your hard disk, read voltages and fan speeds and check the status of your hard disk using S.M.A.R.T. or SCSI attributes, then try Speedfan.
It’s not just for fans. In fact on my Acer laptop it didn’t actually detect the fan at all. But did give loads of other information
We had a great day out at Wookey Farm last Sunday. It was Open Farm Sunday. The weather was warm and sunny and this no doubt helped but the response was amazing. I think over 200 car loads of visitors came along and enjoyed a few hours in the sunshine.
Apart from a general look around a working farm including all the animals, Wookey Farm offered:
Milking Demo
BBQ
Tractor Trailer rides
Welly Wanging (Charlie came first in the kids section!)
The Raspberry Pi version, at the time of writing, is no longer supported but the creator will send it to you in return for a donation to the main software
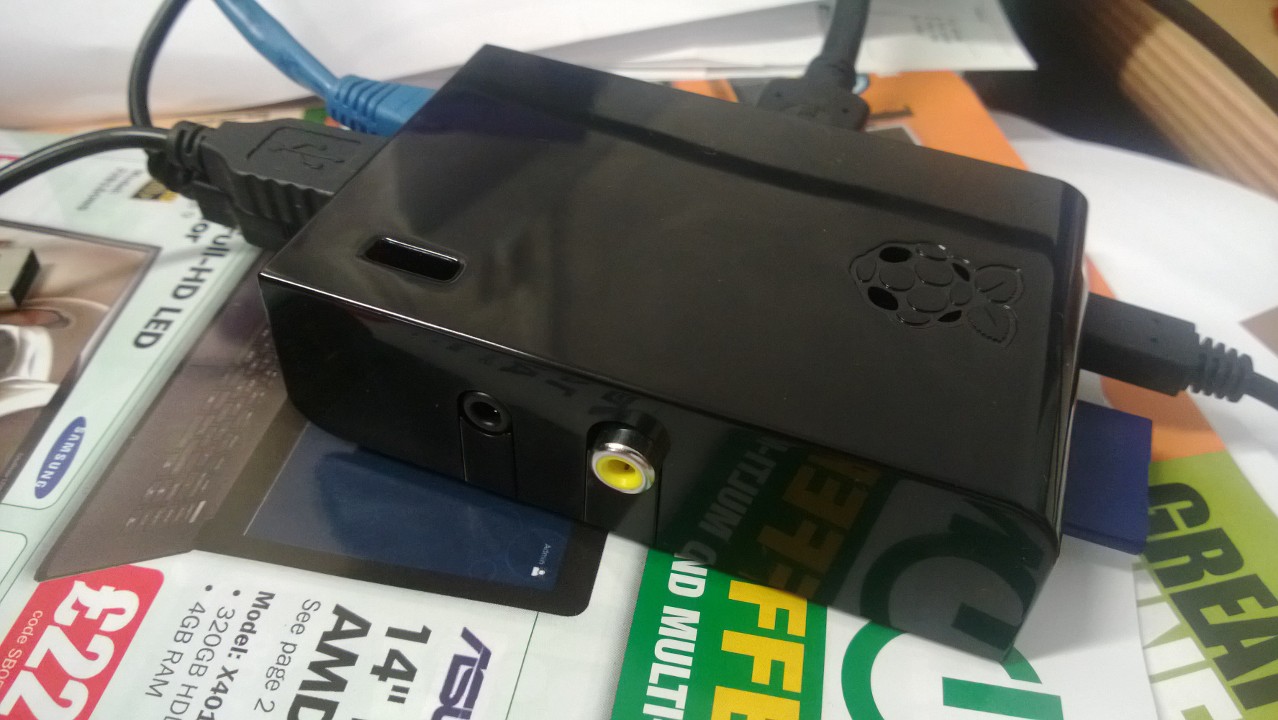
What is Instant WebKiosk?
From http://alternativeto.net/software/instant-webkiosk/about/: Instant WebKiosk is a free and refined “live” (no installation required) browser-only (only the browser interface will show up) operating system based on Linux Debian and designed for use in web kiosks, multi-user “web workstations” (cafès, offices, schools, hotels) and digital signage deployments.
Instant WebKiosk/EDS
It makes use of Google Chromium as Internet browser and it features audio support, video files support, Adobe Flash support, PDF and images viewing, office files and compressed files support; it features full “i18n” (internationalization) including CJ input methods and a very useful on-screen virtual keyboard for touch devices.
Instant WebKiosk protects your privacy even if it’s fully customizable: users can change its settings (or install “apps” from the Chrome Web Store) but, thanks to its “live” nature and design, after a reset the operating system presents itself with the default settings and users’ private informations are completely destroyed.
Instant WebKiosk boots form USB flash devices (in order to write the downloaded IWK ISO file to a USB stick, Windows users can use Win32DiskImager, while Linux users can make use of dd) and supports the same hardware that default Debian Linux distributions do – no less… no more.
Supported file types in detail: Instant WebKiosk can read txt, html, xml, gif, jpeg, png, psd, mpeg, mp3, mp4, avi, wmv, wma, asf, mov, 3gp, ogg, ogm, mkv, rm, wav, dts, aac, flc, flv, midi, pdf, csv, doc, xls, ppt, rtf, odt, ods, odp, and zip files. All known unsupported file types are filtered.
Installation Instant WebKiosk
My Installation started on a Windows 7 PC.
Download the Raspberry Pi version of the software. It comeas as ZIP. Unzip the zip and you will get a .ISO file.
Normal practice for creating boot disks for Raspberry Pi is to use Win32DiskImager to burn an IMG file to a SD Card.
Start Win32DiskImager and select the .img file above.
Burn to SD Card
Prepare your Raspberry PI. Put in a mouse and keyboard, a wired network lead (you cannot use wifi to start with) a monitor and your SD Card. Then apply power.
During the boot, your PI will first update itself from the raspberry pi website, then about 5 minutes later will connect to Binary Emotions (the creator of Instant WebKiosk).
Next step is to change the default page.
Working out what IP address it has picked up by DHCP is a bit of trial and error.
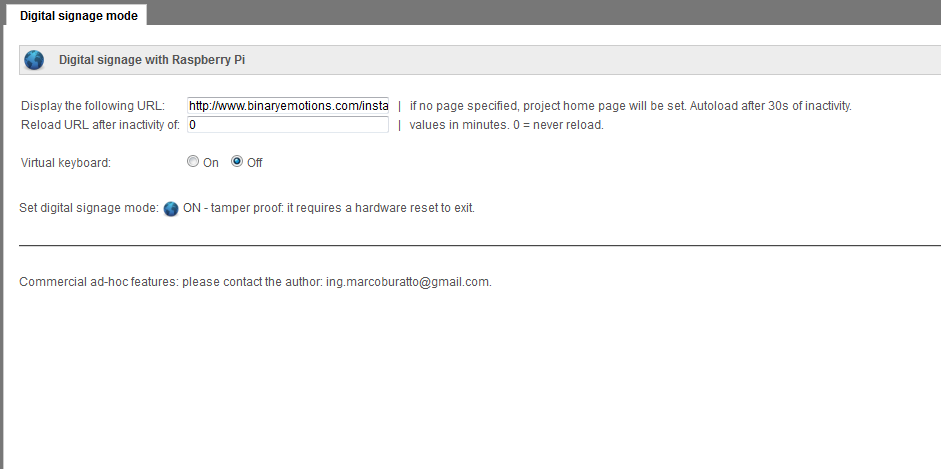
Browse to the IP that you’ve found. A webpage will allow to you set the home url and whether or not to display a keyboard on screen.
Instant WebKiosk Configuration page
Click “Set digital signage mode ON” and the device will reboot.
You can also SSH to the PI to set it up. username: pi password: live
If you want to edit some of the “under the hood” settings, open /var/www/index.php.
You’ll need to install a text editor
apt-get install vim
After a week of using the software I find it excellent. It’s pretty much rock solid in operation (occasionally the startup fails but once it’s running it’s never failed).
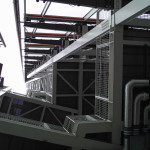
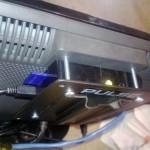
Raspberry Pi VESA Mount
Raspberry Pi mounted on monitor using VESA plate
On my setup, I am powering the Pi from a USB socket on the back of the Samsung TV I have, so it’s really neat from a wiring point of view. I’ve also found the standard VESA fittings on a TV can be used to mount the Raspberry Pi securely. Just use some long M4 screws and a VESA plate (like this one: VESA Adaptor Plate). There are a number of different Pi cases available which might affect the fitting, so for reference, this is the case used:
*UPDATE 13 June 2013*
As the comment mentions, the creator of WebKiosk/EDS for Raspberry Pi has released a new public version. Both free and ‘donor’ (paid) versions are available.
The new version (paid option) offers these features;
no screensaver or screen blanking active on system;
optional browser full reset after specified user inactivity;
optional force web content reloading after specified time;
automatic system shut down at scheduled hour;
screen resolution settings;
admin password (with password management), which protects the modify of the operating system settings at boot in the admin interface;
I’ve upgraded to the new version and so here is my updated guide.
Follow steps 1-4 above
Once the updating was done, I was presented with a Network Settings screen using the built in browser. This allows you to reset DHCP, set a static IP address or connect to Wi-fi.
On my install, it said failed to connect my wired network and my wifi. Eventually I tried clicking the back button on the browser and lo and behold it had in fact connected fine.
The next screen presents you with the options on what url to display and various relating settings such as refresh time, auto-shutdown. A Settings tab allows you to set your locality.